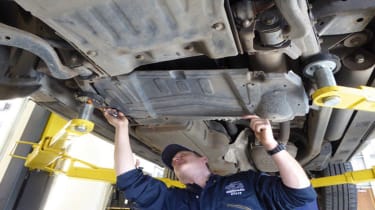
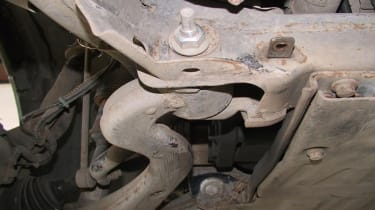
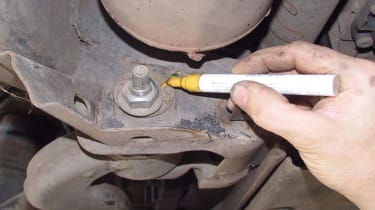
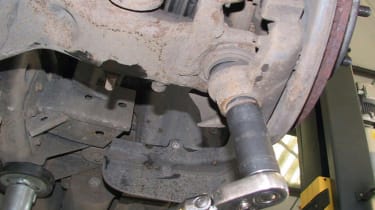
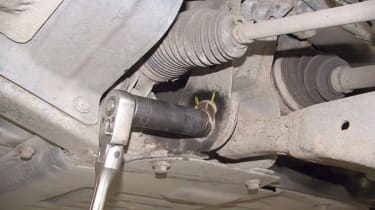
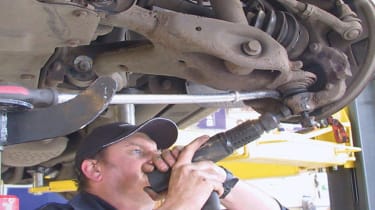
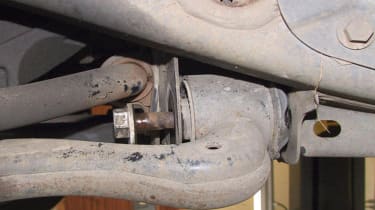
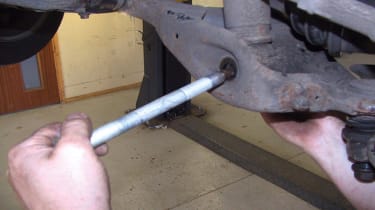
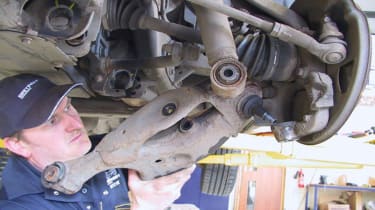
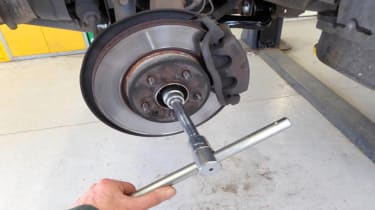
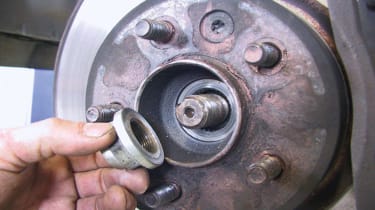
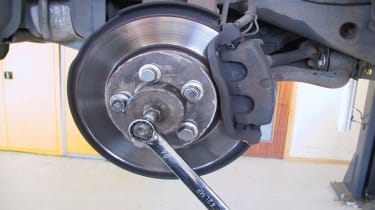
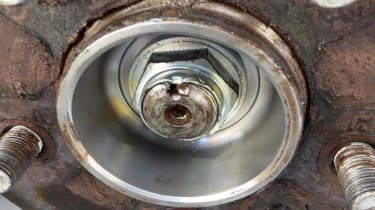
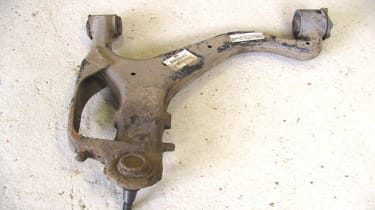
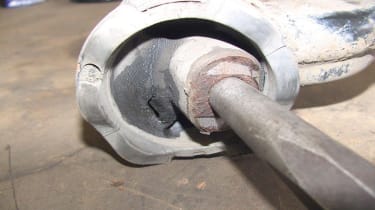
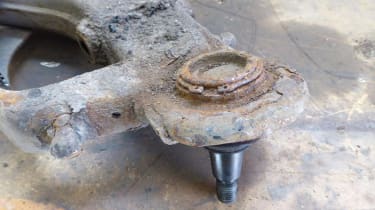
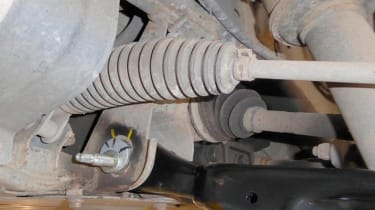
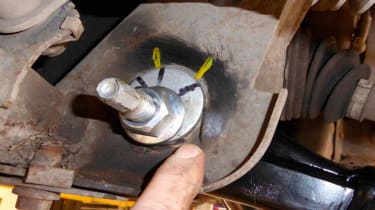
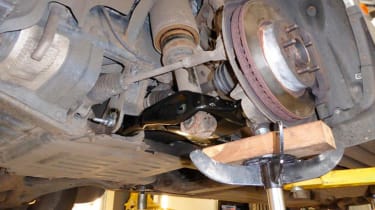
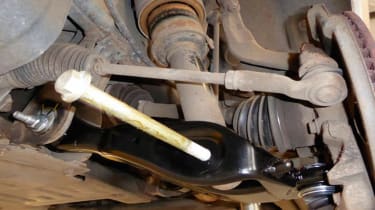
How to replace front suspension and ball joints - pictures
<span>REMOVING THE ARM: Unbolt and remove the engine’s undertray to gain access to the lower arm’s rear bolt and nut.</span>
<span>This is the nut with eccentric cam, and bolt for the lower arm’s rear mounting, which is wire-brushed clean.</span>
- Skip advertAdvertisement - Gallery continues below
<span>A mark is placed on to record their orientation for refitting later (item above is the air suspension reservoir).</span>
<span>All the underside bolts and nuts are now eased, starting with this ball joint nut beneath the hub knuckle.</span>
- Skip advertAdvertisement - Gallery continues below
<span>Suspension arm and damper bolts and nuts need a 21 and 24 mm socket respectively. Deep socket clears the protruding bolt thread on the arm.</span>
To release the ball joint from the hub knuckle, we needed a pry bar on each side, assisted by vibration from a pneumatic hammer.
- Skip advertAdvertisement - Gallery continues below
<span>The arm’s front bolt withdrew easily. The rusted rear needed a breaker bar turning the head, while being driven out with the pneumatic hammer.</span>
<span>The bolt holding the damper to the suspension arm came out easily, leaving just the ball joint to be detached, before removing the arm.</span>
- Skip advertAdvertisement - Gallery continues below
<span>With the hub on left lock, and tipping the suspension arm, the ball joint is lifted out of the hub knuckle to free the arm.</span>
<span>RELEASING AXEL HALFSHAFT: Steve releases the axle stake nut using a breaker bar and socket, while I press the footbrake down to prevent the axle rotating.</span>
- Skip advertAdvertisement - Gallery continues below
<span>The nut is removed from the axle and is discarded. A new stake nut should be fitted during reassembly.</span>
<span>Steve releases the axle stake nut using a breaker bar and socket, while I press the footbrake to prevent the axle rotating.</span>
- Skip advertAdvertisement - Gallery continues below
<span>The nut is removed from the axle and is discarded. A new stake nut should be fitted during reassembly.</span>
<span>REPAIR OPTIONS: Here is the arm removed from the Range Rover, with the worn ball joint in the foreground, and the two chassis mounting bushes at the rear.</span>
- Skip advertAdvertisement - Gallery continues below
<span>The front bush was good, but the rear bush had split, and it leaked fluid when we levered it with a toggle bar (seen here).</span>
<span>After removing this circlip from the top side of the ball joint, the joint can be pushed out of the arm using a hydraulic press.</span>
- Skip advertAdvertisement - Gallery continues below
<span>A U-press is available to remove the ball joint without detaching the arm from the car, but it’s rarely worth doing this, as we’ll see.</span>
<span>For around £125 you can buy an OEM new arm complete with ball joint and both chassis bushes already installed, so that’s what we’ll fit.</span>
- Skip advertAdvertisement - Gallery continues below
<span>And because certain bolts will be wasted away and threads damaged with corrosion, we also used a new bolt, nut and washer pack.</span>
<span>REASSEMBLING THE SUSPENSION: The reference marks on the original cam bolts are transferred accurately to the new bolts, using the cams’ serrations as a guide.</span>
- Skip advertAdvertisement - Gallery continues below
<span>To refit the new arm, the hub is pulled outward, the arm’s ball joint passed through the hub knuckle and the nut fitted loosely to it.</span>
<span>Now the inboard end of the suspension arm is lifted up into the chassis mountings, aligning the bolt holes with a toggle bar if needed.</span>
- Skip advertAdvertisement - Gallery continues below
<span>Rear bolt is fitted through the arm and chassis. It’s important that all cams sit inside the chassis plates’ raised lugs – not over them.</span>
<span>Here, the front bolt has been inserted from behind, and the loose cam washer and the plain washer (for the nut) is fitted.</span>
- Skip advertAdvertisement - Gallery continues below
<span>Cams are seated between the raised lugs here, aligned with chassis marks, and the nuts just nipped. Now the ball joint nut is fully tightened.</span>
<span>Using a jack under the ball joint nut, the hub is raised until the axle centre is 462 mm (check spec for other models) from the wheel arch.</span>
- Skip advertAdvertisement - Gallery continues below
<span>With the suspension now at normal height, the arm to chassis bolts are tightened to torque, ensuring the marks stay aligned.</span>
<span>Now the damper/spring strut is aligned to the holes in the suspension arm, the bolt fitted and the nut fully torqued up.</span>
- Skip advertAdvertisement - Gallery continues below
<span>Finally, I sprayed the nuts and bolts with liquid grease to deter rust, then the rear suspension bolts seen here (and the chassis).</span>
Recommended

Best 7-seater cars to buy 2025

New baby Land Rover Defender Sport on the way and we’ve spotted it testing

Best cars for dog owners to buy 2025

New Land Rover Defender OCTA 2025 review: ferocious and graceful in equal measure
Most Popular

Future of Nissan in the UK: new Gigafactory to power bold EV plans

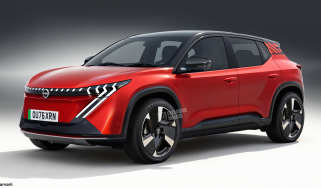
New baby Nissan Juke EV on the way to challenge the Dacia Spring

New Renault Clio prepares for launch: And it's not an EV