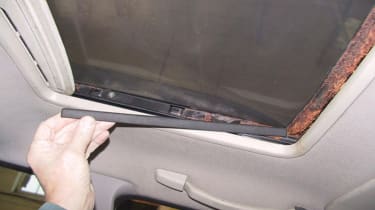
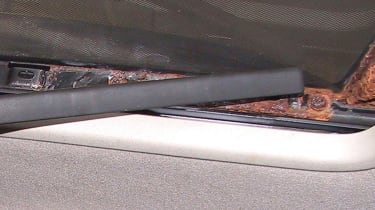
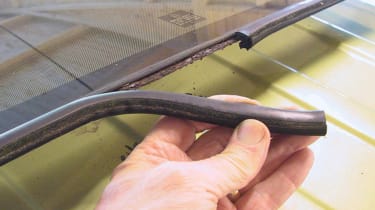
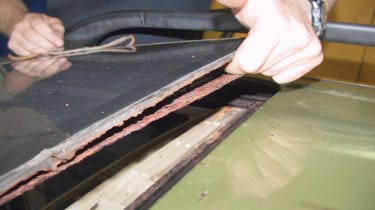
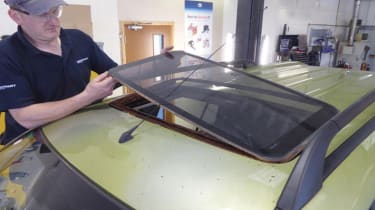
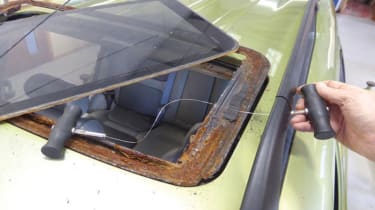
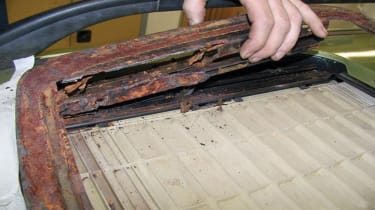
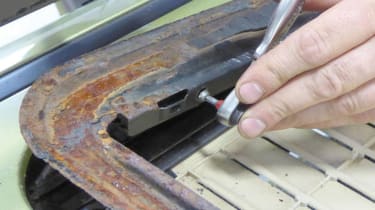
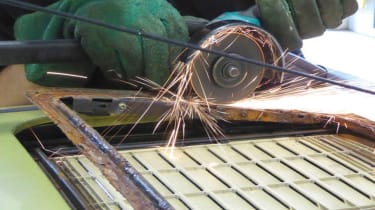
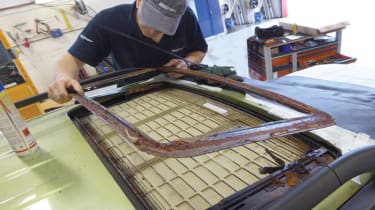
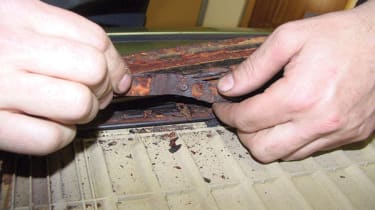
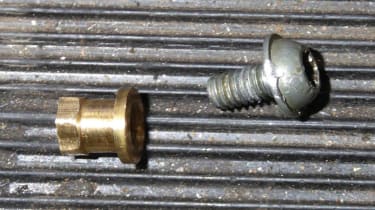
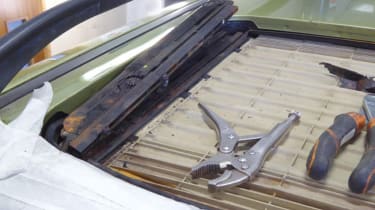
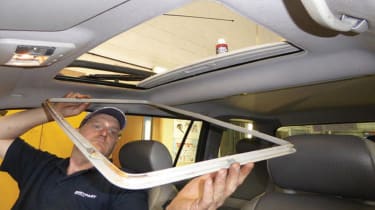
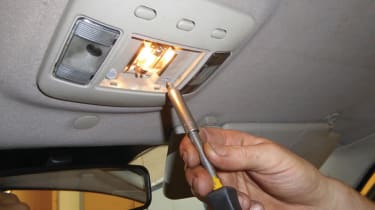
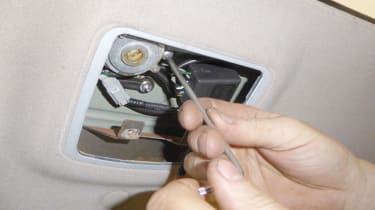
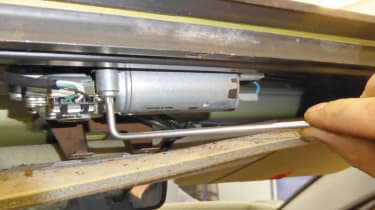
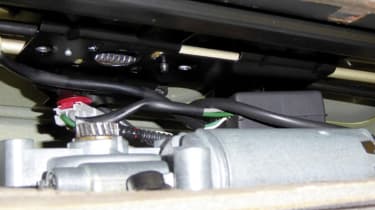
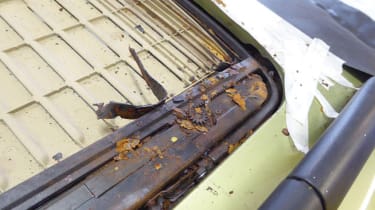
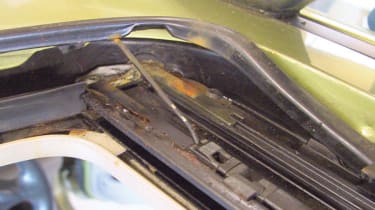
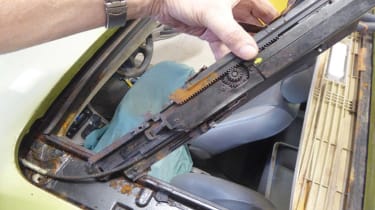
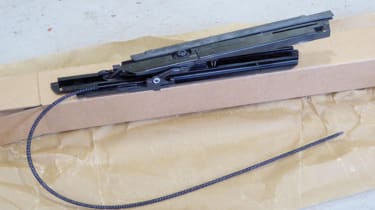
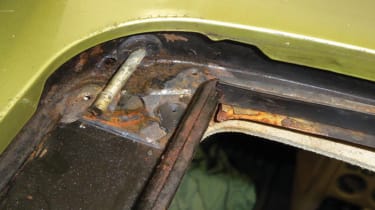
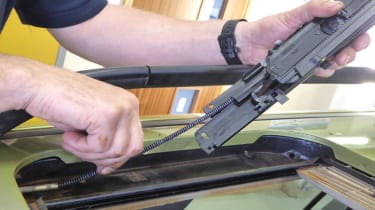
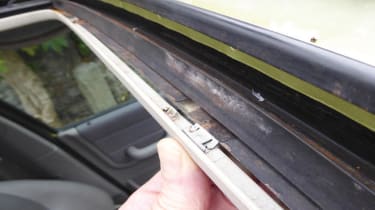
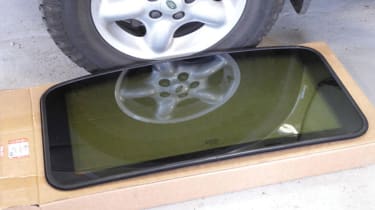
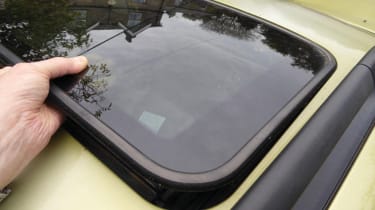
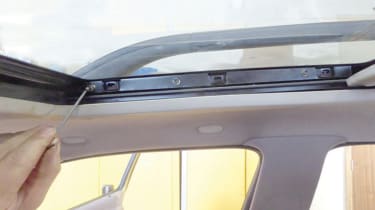
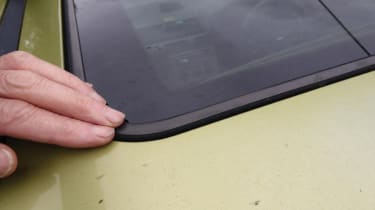
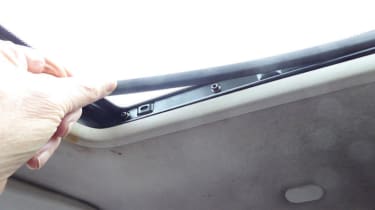
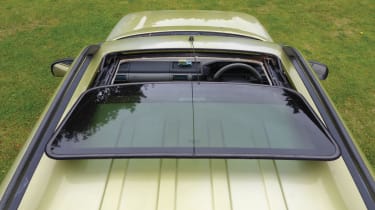
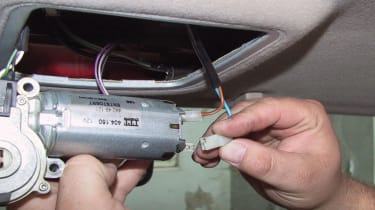
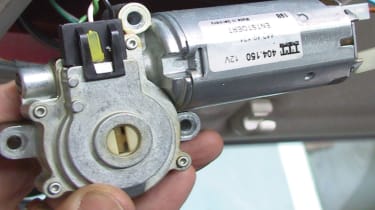
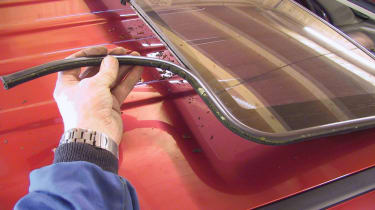
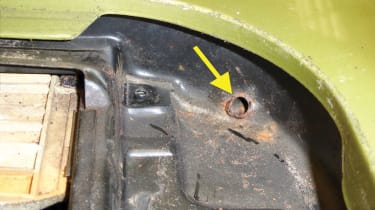
How to rebuild the roof on a Freelander 1 - pictures
<span>Removing the glass: The black plastic trims are prised off at each side to expose the screws holding the glass panel. The glass frame is seriously rusted.</span>
<span>The three Torx screws holding the glass roof’s metal frame to each side are badly rusted and cannot be removed.</span>
- Skip advertAdvertisement - Gallery continues below
<span>The roof panel will have to come off using unconventional means. We start by tilting the roof and pulling the seal off from the rear.</span>
<span>The rusted frame under the glass roof has lost its bond with the glass, as such we can easily separate the two at the rear.</span>
- Skip advertAdvertisement - Gallery continues below
<span>The right side and front of the glass is also carefully prised from its rusted frame – the glass is bonded only to the rust.</span>
<span>The left side bonding was intact. Steve sliced through it using cheese wire – sawing from inside to outside of the frame.</span>
- Skip advertAdvertisement - Gallery continues below
<span>With the glass removed, the rusted frame was still attached to the lifting mechanisms on each side, and would have to come off somehow</span>
<span>One screw did release after soaking in easing fluid and carefully working it back and forth to avoid dislodging the threaded insert behind.</span>
- Skip advertAdvertisement - Gallery continues below
<span>The other five screws were rusted solid, so Steve used the angle grinder with cutting disc to cut the roof frame from the lift mechanisms.</span>
<span>The remains of the steel backing frame for the sunroof glass could now be lifted off, and discarded with the old glass.</span>
- Skip advertAdvertisement - Gallery continues below
<span>That still left a strip of metal around each screw, which we used to lever the screw round. Now the screws turned, but they weren’t undoing…</span>
<span>… because the screws are threaded into these brass inserts set into the plastic lift mechanisms – they’d loosened and started spinning.</span>
- Skip advertAdvertisement - Gallery continues below
<span>The only answer is to fit new lift mechanisms before installing the new roof frame – if only it was that simple, but here goes.</span>
<span>Removinf the lift mechanisms: To access the motor behind the headlining, the sunroof surround trim is prised off, allowing a slight drop in the headlining.</span>
- Skip advertAdvertisement - Gallery continues below
<span>The centre lens is sprung out of the lamp housing, and two 8 mm AF bolts removed. Wiring is unplugged as the lamp is released.</span>
<span>Now we see the sunroof motor. The assembly is held by three Torx25 screws. This one is accessible through the lamp aperture.</span>
- Skip advertAdvertisement - Gallery continues below
<span>To fully remove all three screws, we gently pull the headlining down and work through the gap using this cranked Torx key.</span>
<span>The motor is now lowered away from the cables’ gearbox, in which we see one of the two cables. The motor rests on the headlining.</span>
- Skip advertAdvertisement - Gallery continues below
<span>Before removing the lift mechs, rust debris is picked out with a screwdriver and mopped up using a magnet and vacuum cleaner.</span>
<span>With the lift mechs pushed to open position, the wind deflector front corners are pulled back, then lifted to unhook the wire stays.</span>
- Skip advertAdvertisement - Gallery continues below
<span>With the lift mechanisms pushed to tilt position, these two Torx20 screws are removed from the rear corner of each lift mech.</span>
<span>When removing the outer screws, there is a cam located under the head, which needs to be prised outward and saved for reuse.</span>
- Skip advertAdvertisement - Gallery continues below
<span>At each front corner, two screws are removed from the cable guide plate before prising the plate loose and storing for later.</span>
<span>The frame is now prised away slightly to release the tab (arrowed) on the inner side of each mechanism, freeing the mech.</span>
- Skip advertAdvertisement - Gallery continues below
<span>The mechs, with attached drive cable, are removed while firmly holding the cable tube (bottom left) to prevent it pulling out.</span>
<span>Fitting the lift mechanisms: Britpart supplies Genuine Land Rover lift mechs (part number EFI100021 (RHS), EFI100031 (LHS), costing £130 each including VAT.</span>
- Skip advertAdvertisement - Gallery continues below
<span>When fitting the new lift mechanisms, it’s important to ensure the cable tube is not pushed into the body, or its grommet dislodged.</span>
<span>The cable is fed down the tube towards the sunroof motor, as the lift mechanism is lowered into its position on the roof tray.</span>
- Skip advertAdvertisement - Gallery continues below
<span>When seating the lift mechanisms, the tabs need to be engaged under the edge of the sunroof frame at each side.</span>
<span>With the lift mechanism in position, the raised collar on the cable tube should locate in this groove in the lift mech base.</span>
- Skip advertAdvertisement - Gallery continues below
<span>The guide plate is refitted, ensuring the groove in the underside of the guide (inverted here) locates over the raised collar on the tube.</span>
<span>The screws are now refitted, with these cams under the rear outers. Then the motor, interior light and headlining are refitted.</span>
- Skip advertAdvertisement - Gallery continues below
<span>Finally, the surround trim is refitted from above, where it is easier to locate the clips into the steel roof frame – rear edge first.</span>
<span>Fitting the glass roof panal: The new steel underframe (replacing our rusted item) and glass are supplied as a Genuine part one-piece bonded assembly.</span>
- Skip advertAdvertisement - Gallery continues below
<span>The glass and bonded frame are fitted from the top, tipping up at the rear to position the front edge first, then gently lowering.</span>
<span>With the panel seated, the six screws are entered through the steel frame and lightly screwed into the lift mechs.</span>
- Skip advertAdvertisement - Gallery continues below
<span>After checking and adjusting on top to confirm the glass panel was level at the corners, the six screws were fully tightened.</span>
<span>Finally, the finishing strips were refitted over the screws on the roof frame. Luckily, they clipped on, despite the larger screw heads.</span>
- Skip advertAdvertisement - Gallery continues below
Recommended

Best new cars coming soon: all the big new car launches due in 2025, 2026 and beyond

Jaguar Land Rover stops car exports to the US in wake of Trump Tariffs

Land Rover’s theft problems subside as stolen car numbers hit three-year low

The scariest cars we've ever driven
Most Popular

Car finance firms losing "hundreds of millions” in EV depreciation want Govt support

Car Deal of the Day: sacre bleu! New Renault 5 for just £229 a month

Refreshed Renault Megane and Scenic get one-pedal driving and a price cut